This flow will allow you to upload an image dataset with labels as an input and train an image classifier model.
- Uploaded images will be preprocessed and can be visualized.
- An Image Classification model will be trained and can be visualized.
- Predictions can be done and visualized for selected dataset with trained Image Classifiers.
Here we will train a model to classify retail products as beauty and baby products.
Step 1.
Drag and drop an Inject node and set the payload to timestamp and click done.
Step 2.
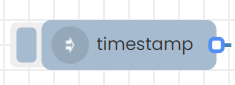
Drag and drop a ICUploadData node under Image Classification and name it appropriately to the relevant subject. Here it is named as IC Data Upload.
Step 3.
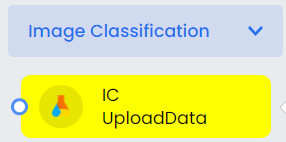
Change the name and dataset name in ICUploadData node. Press Edit in Dataset name to provide images and their class names. Click done and deploy.


Step 4.
Connect both nodes as shown below and deploy. Trigger the timestamp node (click on left side button) to upload data.

Step 5.
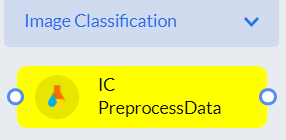
Drag and drop a ICPreprocessData node under Image Classification and name it appropriately to the relevant subject. Here it is named as IC Data Preprocess.
Step 6.
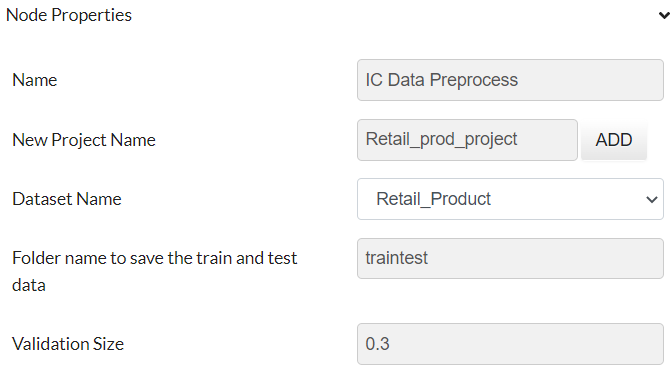
Change name, project name in ICPreprocessData node. Select dataset name in dropdown and set folder name and validation size. Click done and deploy.
Step 7.
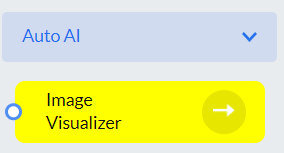
Drag and drop an ImageVisualizer node under Auto AI.
Step 8.
Connect the flow as shown below and deploy. Trigger the timestamp node to preprocess data. Images can be visalized by triggering Image Visualizer node (click on the right side button of the node).

Step 9.
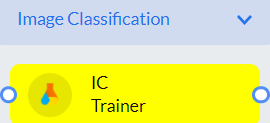
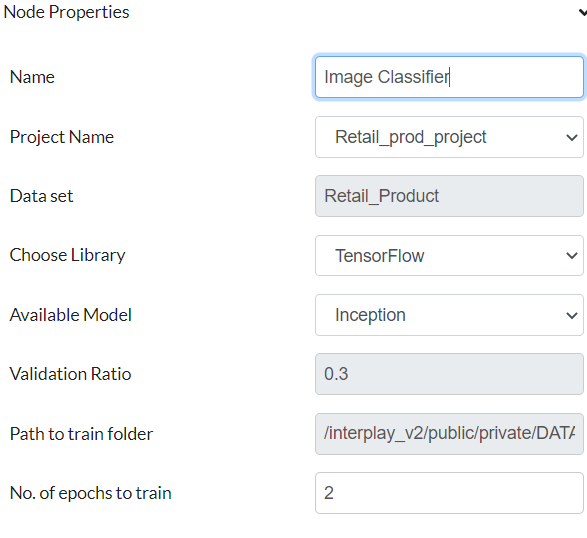
Drag and drop ICTrainer node under Image Classification and name it appropriately. Here it is named as Image Classifier.
Step 10.
Select your project name and Dataset correctly in the drop down in IC trainer node. Provide the library and the model to train the Image classifier model. Set the number of epochs to train the model. Click done and deploy.
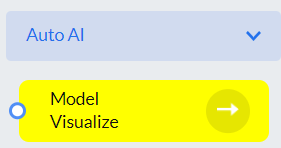
Step 11.
Drag and drop Model Visualize node under Auto AI.
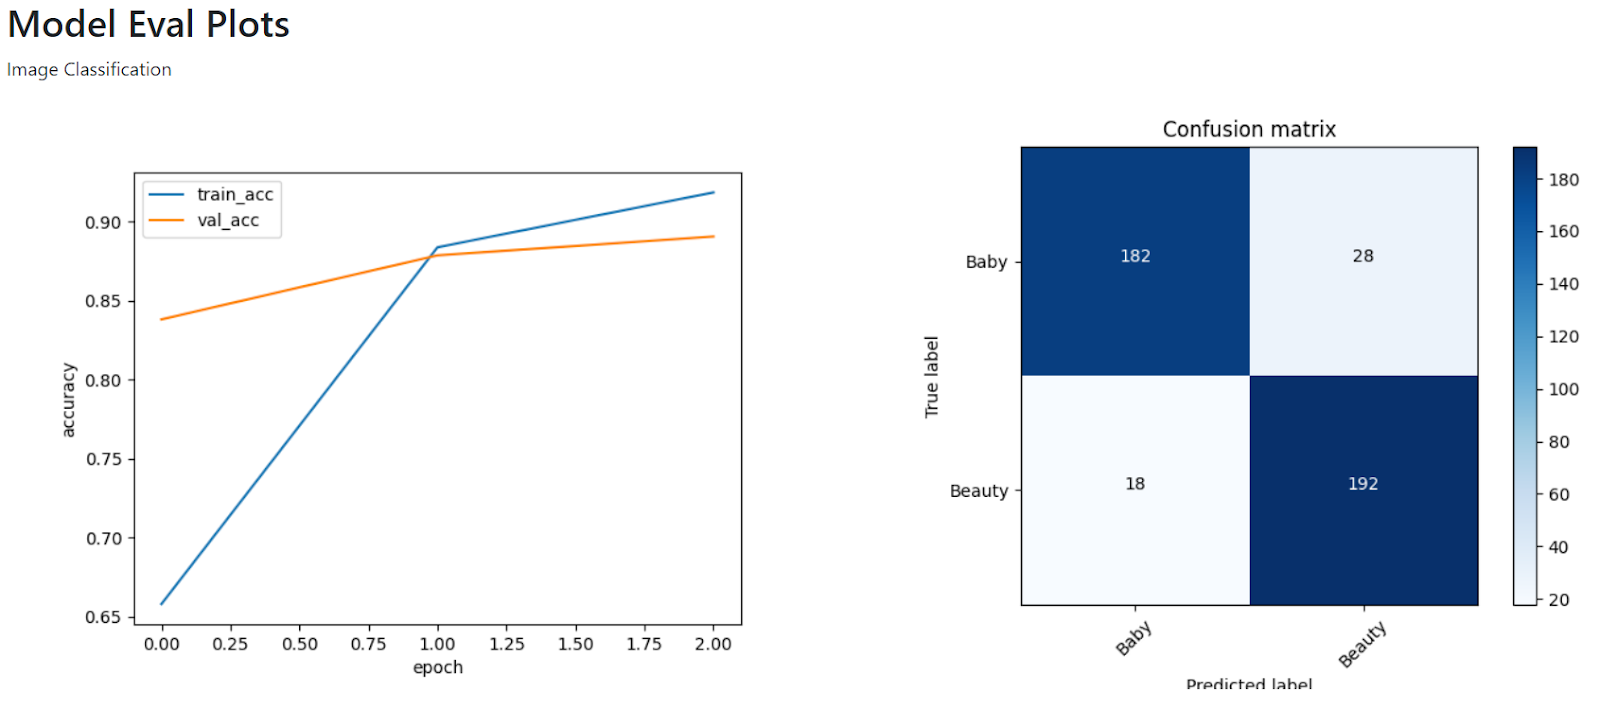
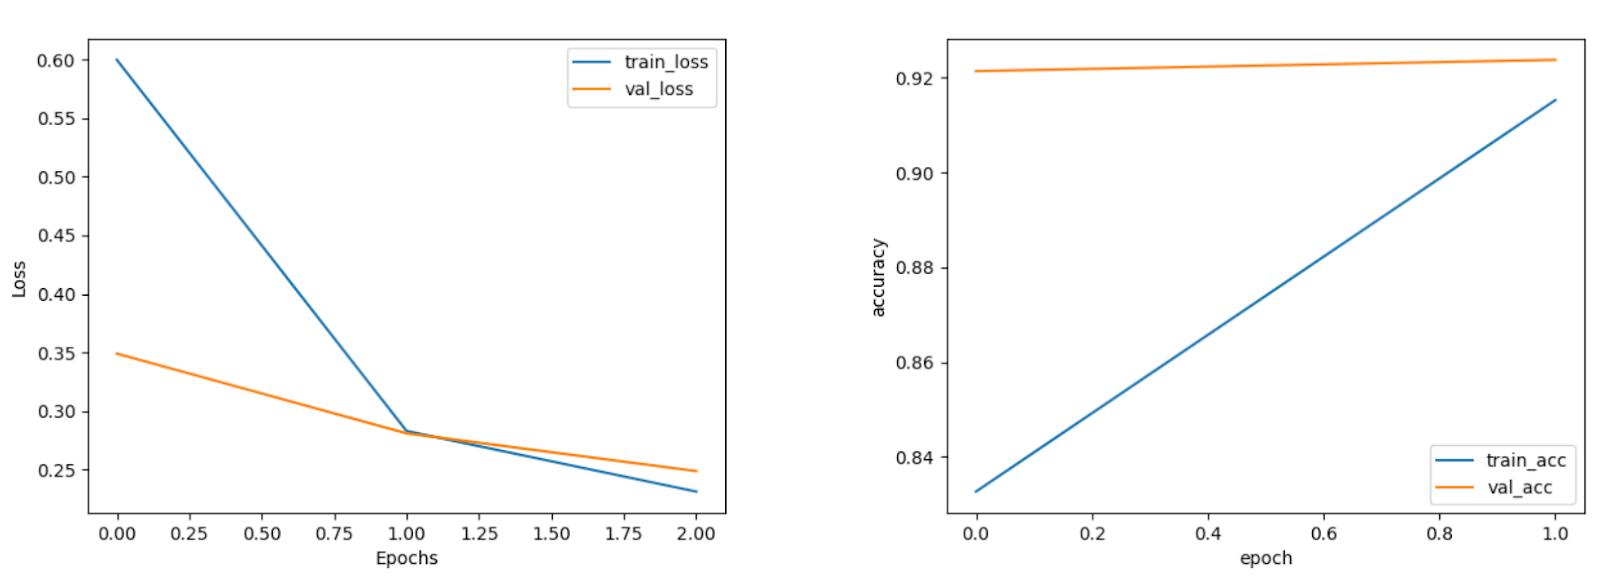
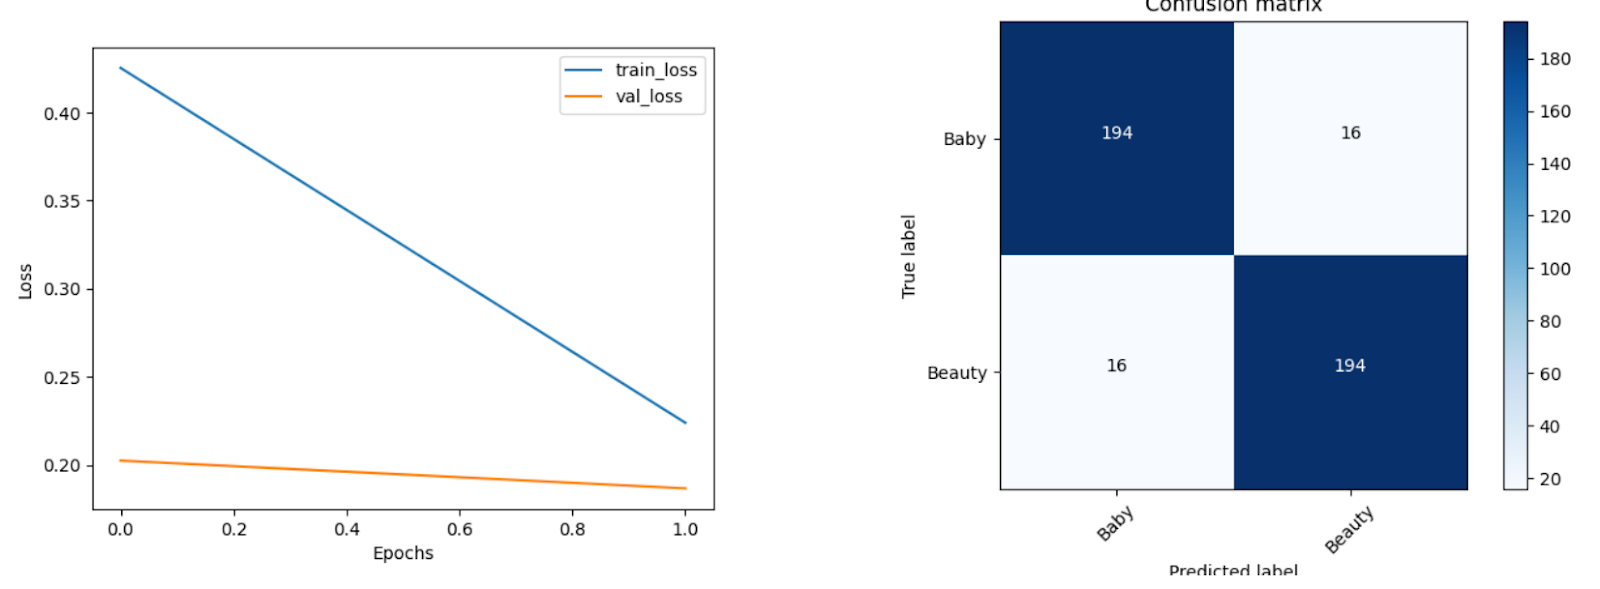
Step 12.
Connect the flow as shown below and deploy it. Trigger the timestamp node to train the model. After “Ready to visualize” appears under the Model Visualize node, the model is trained and can be visualized by triggering the Model Visualize node (click on the right side button).

Step 13.
Step 14.
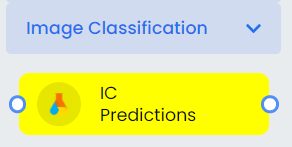
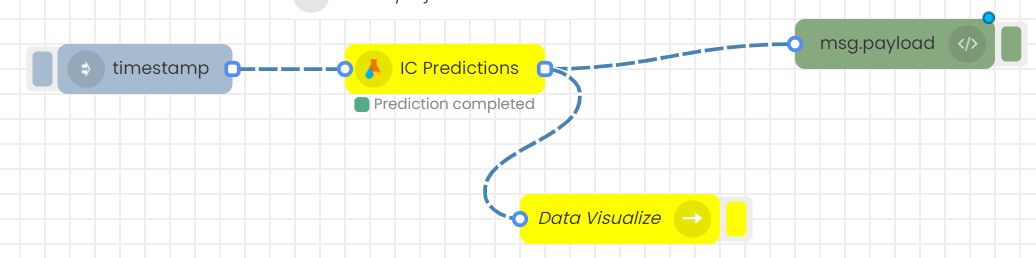
Drag and drop ICPredictions node under Image Classification.
Step 15.
Select project name and version number properly. Click done and deploy.

Step 16.
Drag and drop the Console node under Components.
Step 17.
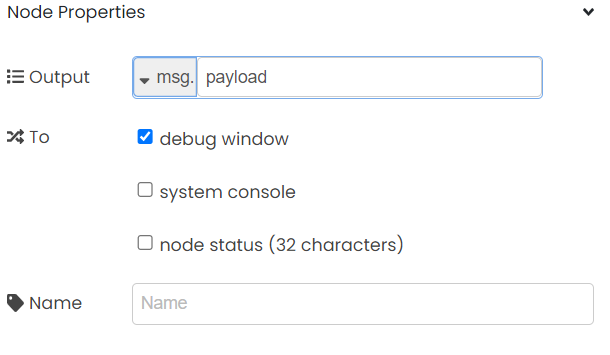
Set node properties as shown below in the Console node. Click done and deploy.
Step 18.
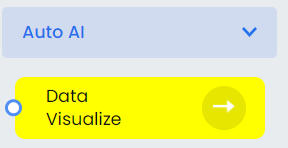
Drag and drop DataVisualize node under Auto AI.
Step 19.
Connect the flow as shown below and deploy it. Trigger timestamp node to start prediction.
Full view of Image classification flow.