This tutorial covers how secure your HTTP endpoints. Creating an HTTP authorization through interplay allows us to make secure username password for this website.
Steps
1) Go to the components menu under software components and select HTTP Request Node as well as an HTTP Response Node.


2) Double click on the HTTP Request node and name the Node and click ok. (this name will be part of the URL to test out the application towards the end so name it something you can remember.
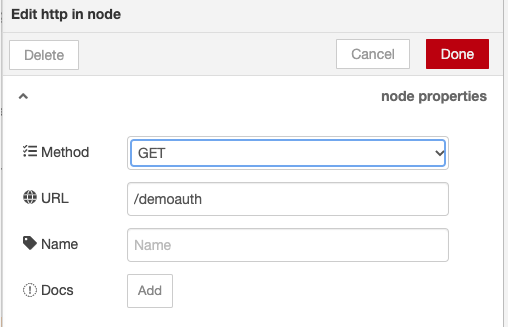
3) Select the HTTP Auth Node from the components menu to configure the authentication for this application.

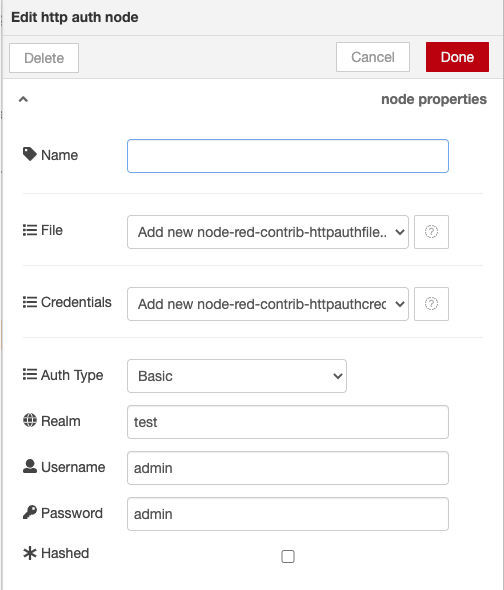
4) Double click on the HTTP Auth to configure the auth settings. Leave the file and credentials setting as is, change the Auth Type to either basic or digest , Realm to test or give it a name, assign a username and password and click ok
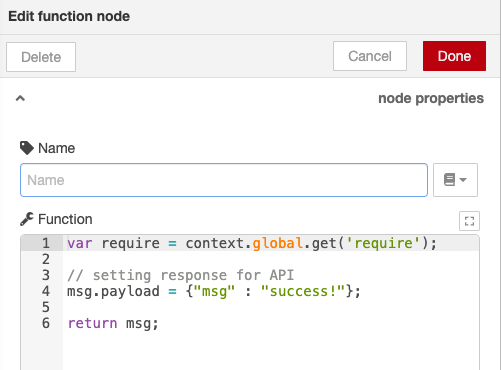
5) Select the NodeJS function node (Orange Node) from the functions menu. Double click on the function node add your code but in this example I'm adding // setting response for API and msg.payload = {"msg" : "success!"} ;

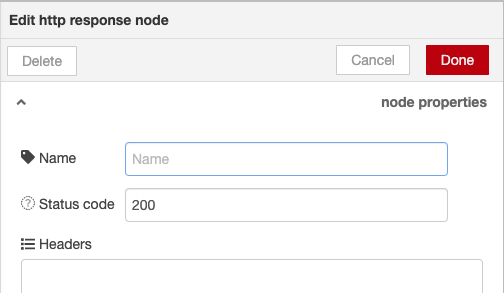
6) Double click on the HTTP response node and set the status code to 200 and click ok. Connect all the nodes and click on deploy for the changes to be saved.

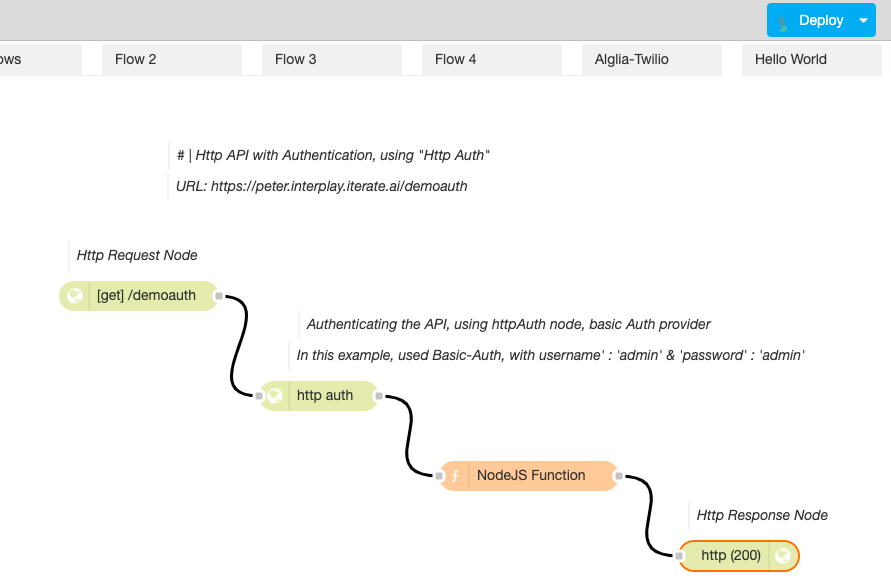
7) Open up a browser and type the URL : https;//(instance_name).interplay.iterate.ai/(http_request_name). You will see a sign in pop up page appear to type in your username and password.

8) Once you typed in your username and password it will take you to the secured site.
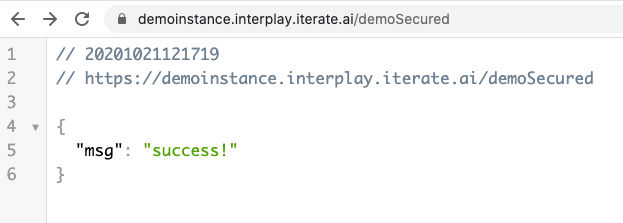
This is how you create an authenticated secured endpoint through the Interplay platform.