
Over 100 Nodes in Interplay ranging from Database Integration to Machine Learning, there is a Node for that big feature you are working on. But sometimes the Node you need doesn’t match your specifications exactly and you risk losing your feature… luckily you can upload your own personal nodes to Interplay and get that feature done! In this guide, we will go over how to create a node that converts message payloads to all lower-case characters and then run it in Interplay
The Basics
First off, you will need a repository to store your code in. The repo will consist of a pair of files:
- A JavaScript file that defines what the node does.
- An HTML file that defines the node’s properties, edit dialog and help text.
Note: When creating the .zip file, place the .html and .js file for the custom node in a folder and then compress this folder. Subsequently, choose this compressed folder.
LowerCaseNode.js
module.exports = function(RED) {
    function LowerCaseNode(config) {
        RED.nodes.createNode(this,config);
        var node = this;
        node.on('input', function(msg) {
            msg.payload = msg.payload.toLowerCase();
            node.send(msg);
        });
    }
    RED.nodes.registerType("lower-case",LowerCaseNode);
}
The node is wrapped as a Node.js module. The module exports a function that gets called when the runtime loads the node on start-up. The function is called with a single argument, RED, that provides the module access to the Node-RED runtime API.
The node itself is defined by a function, LowerCaseNode that gets called whenever a new instance of the node is created. It is passed an object containing the node-specific properties set in the flow editor.
The function calls the RED.nodes.createNode function to initialize the features shared by all nodes. After that, the node-specific code lives.
In this instance, the node registers a listener to the input event which gets called whenever a message arrives at the node. Within this listener, it changes the payload to lower case, then calls the send function to pass the message on in the flow.
Finally, the LowerCase function is registered with the runtime using the name for the node, lower-case.
LowerCaseNode.html
<script type="text/javascript">
    RED.nodes.registerType('lower-case',{
        category: 'function',
        color: '#a6bbcf',
        defaults: {
            name: {value:""}
        },
        inputs:1,
        outputs:1,
        icon: "file.png",
        label: function() {
            return this.name||"lower-case";
        }
    });
</script>

<script type="text/x-red" data-template-name="lower-case">
    <div class="form-row">
        <label for="node-input-name"><i class="icon-tag"></i> Name</label>
        <input type="text" id="node-input-name" placeholder="Name">
    </div>
</script>

<script type="text/x-red" data-help-name="lower-case">
    <p>A simple node that converts the message payloads into all lower-case characters</p>
</script>
A node’s HTML file provides the following things:
- the main node definition that is registered with the editor
- the edit template
- the help text
In this example, the node has a single editable property, name. Whilst not required, there is a widely used convention to this property to help distinguish between multiple instances of a node in a single flow.
Importing and Running on Interplay
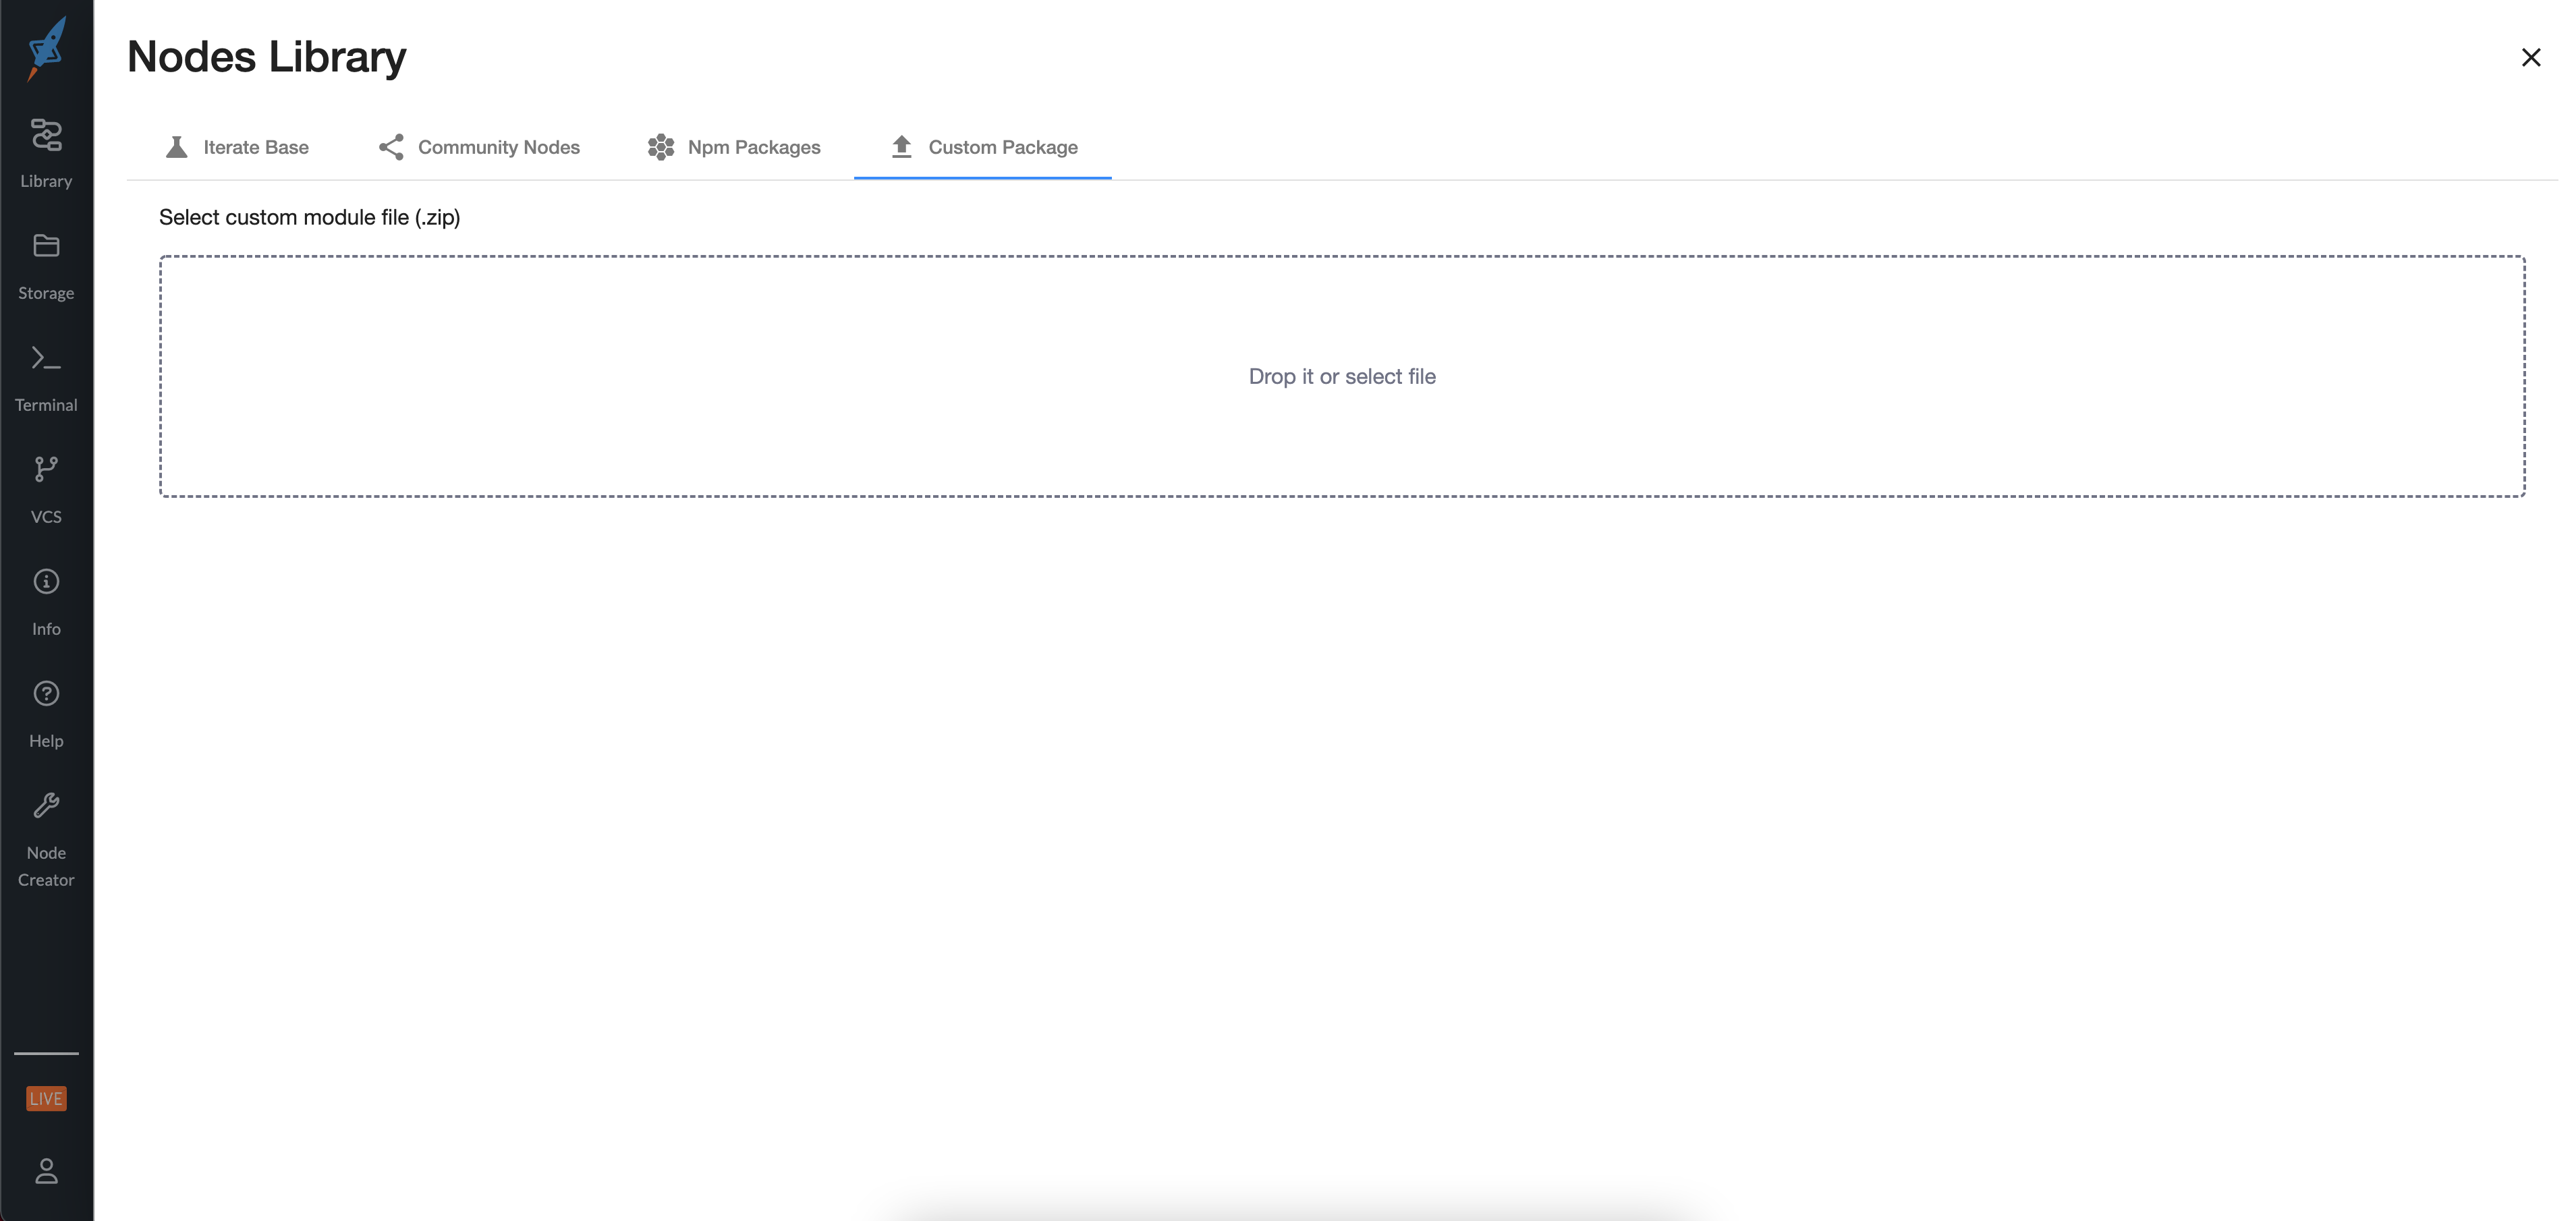
- Click on the button on the top left that says Library to reveal the menu
- Hover the mouse pointer over Custom Package option to reveal Install sub-menu
- Choose the .zip file containing the custom node files and then select Node, click the Install button
Note: In order to use the installed NPM package in your project, you will need to restart InterPlay
Conclusion
We created a zip file of an HTML and JS file and imported it into Interplay.