
What is Page Builder in the Interplay?
Page Builder is a tool that provides you to create, edit and customize your website. It provides the advanced elements and components which help in building a website.
Here listed some key features of the Page Builder:
- Theme and template support for your website
- Drag and Drop the elements and component
- Preview of the website while building it
- Editing of the layout style directly and applying the javascript/JQuery functions
- Undo/Redo your code while editing
- Create a Responsive Website
How to use Page Builder?
Below, I've included some examples of how to use Page Builder as well as an introduction to the page builder's elements/components. So read the documentation or watch the video at the end of this article.
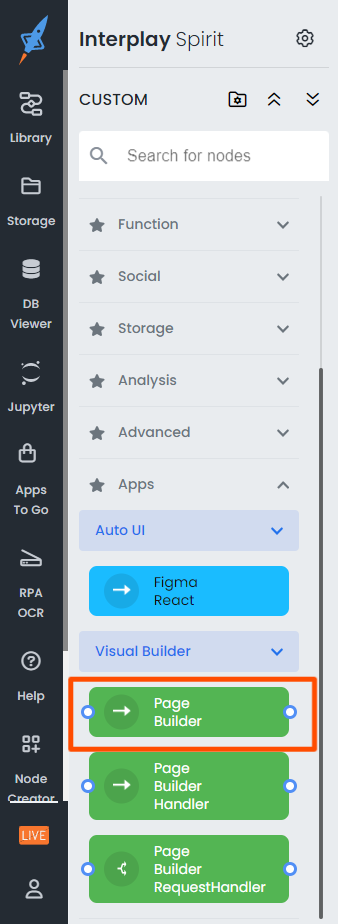
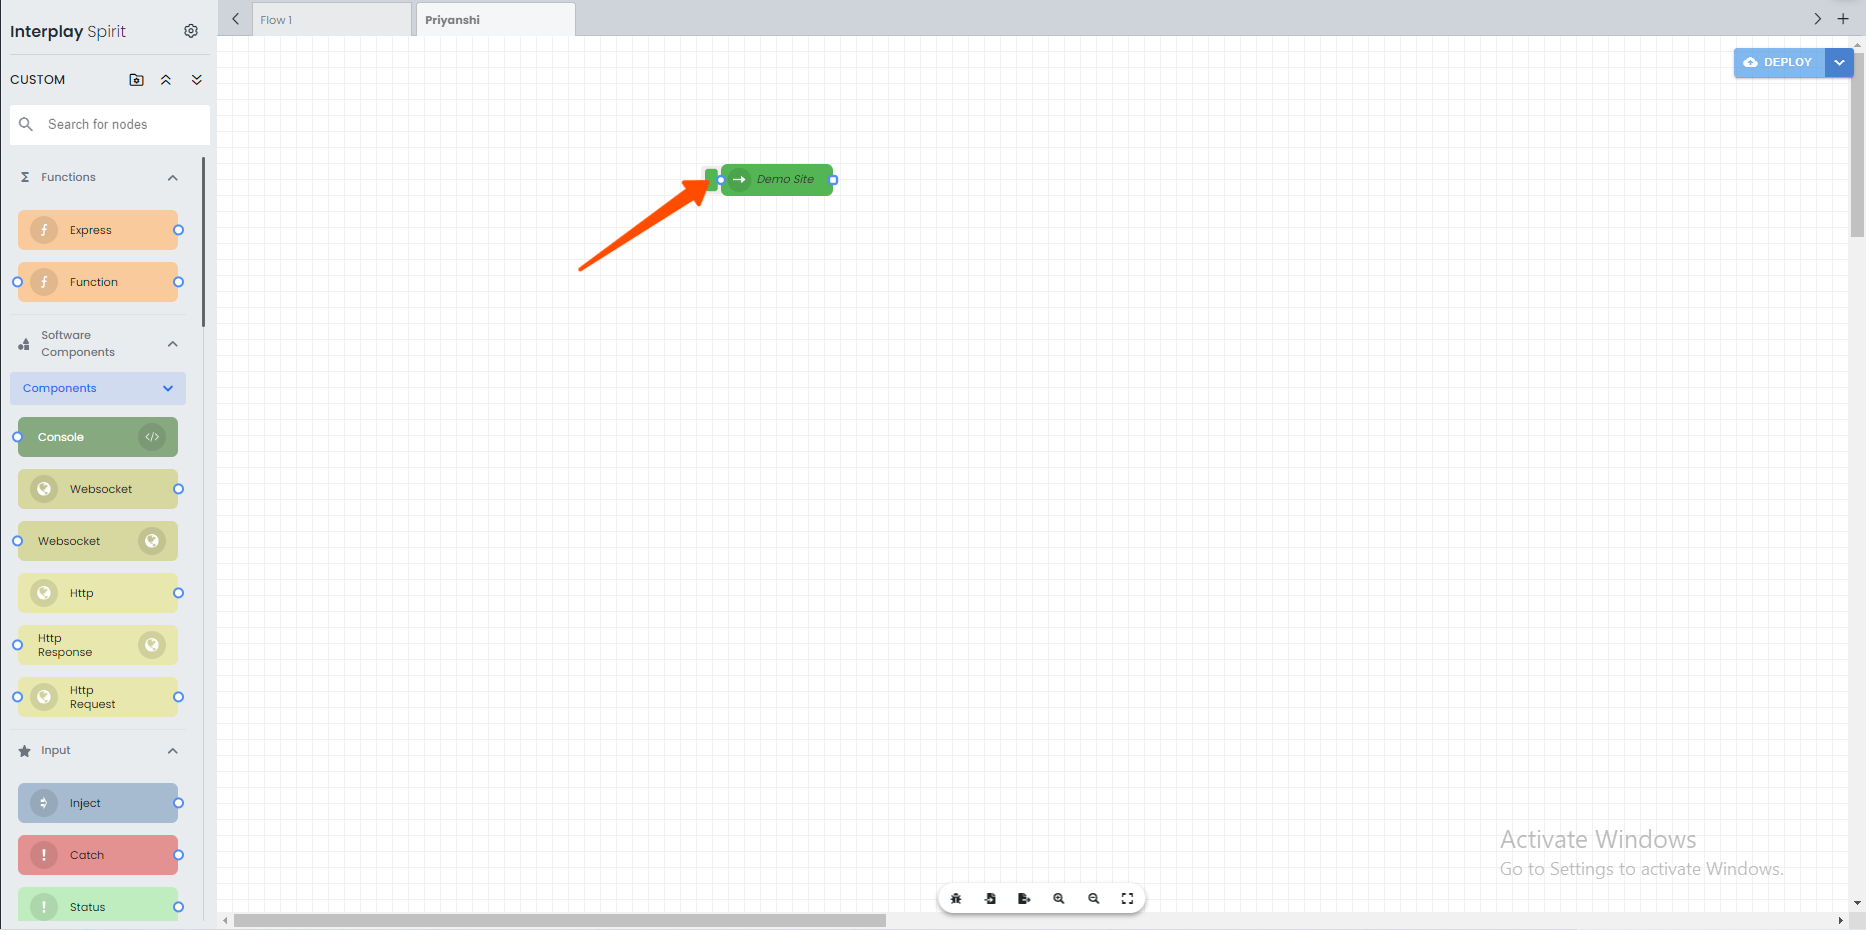
Step 1: Choose a Page Builder node from the left panel of the interplay.
Step 2: After selecting the page builder node, double-click it and enter the configuration into the initial form before saving the details.
- Name: Website Name Ex: Demo Site
- URL: Relative path of the website Ex: /demoSite
- Theme: You can select a theme for your website. Here the default is blank but there are some options that you can select.
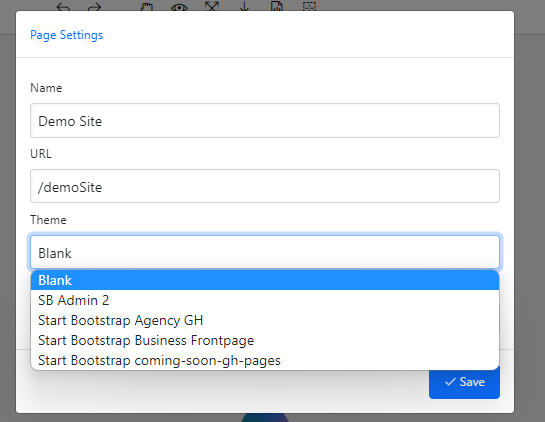
- Page: You can select a template for your website. Here the default is a blank template.
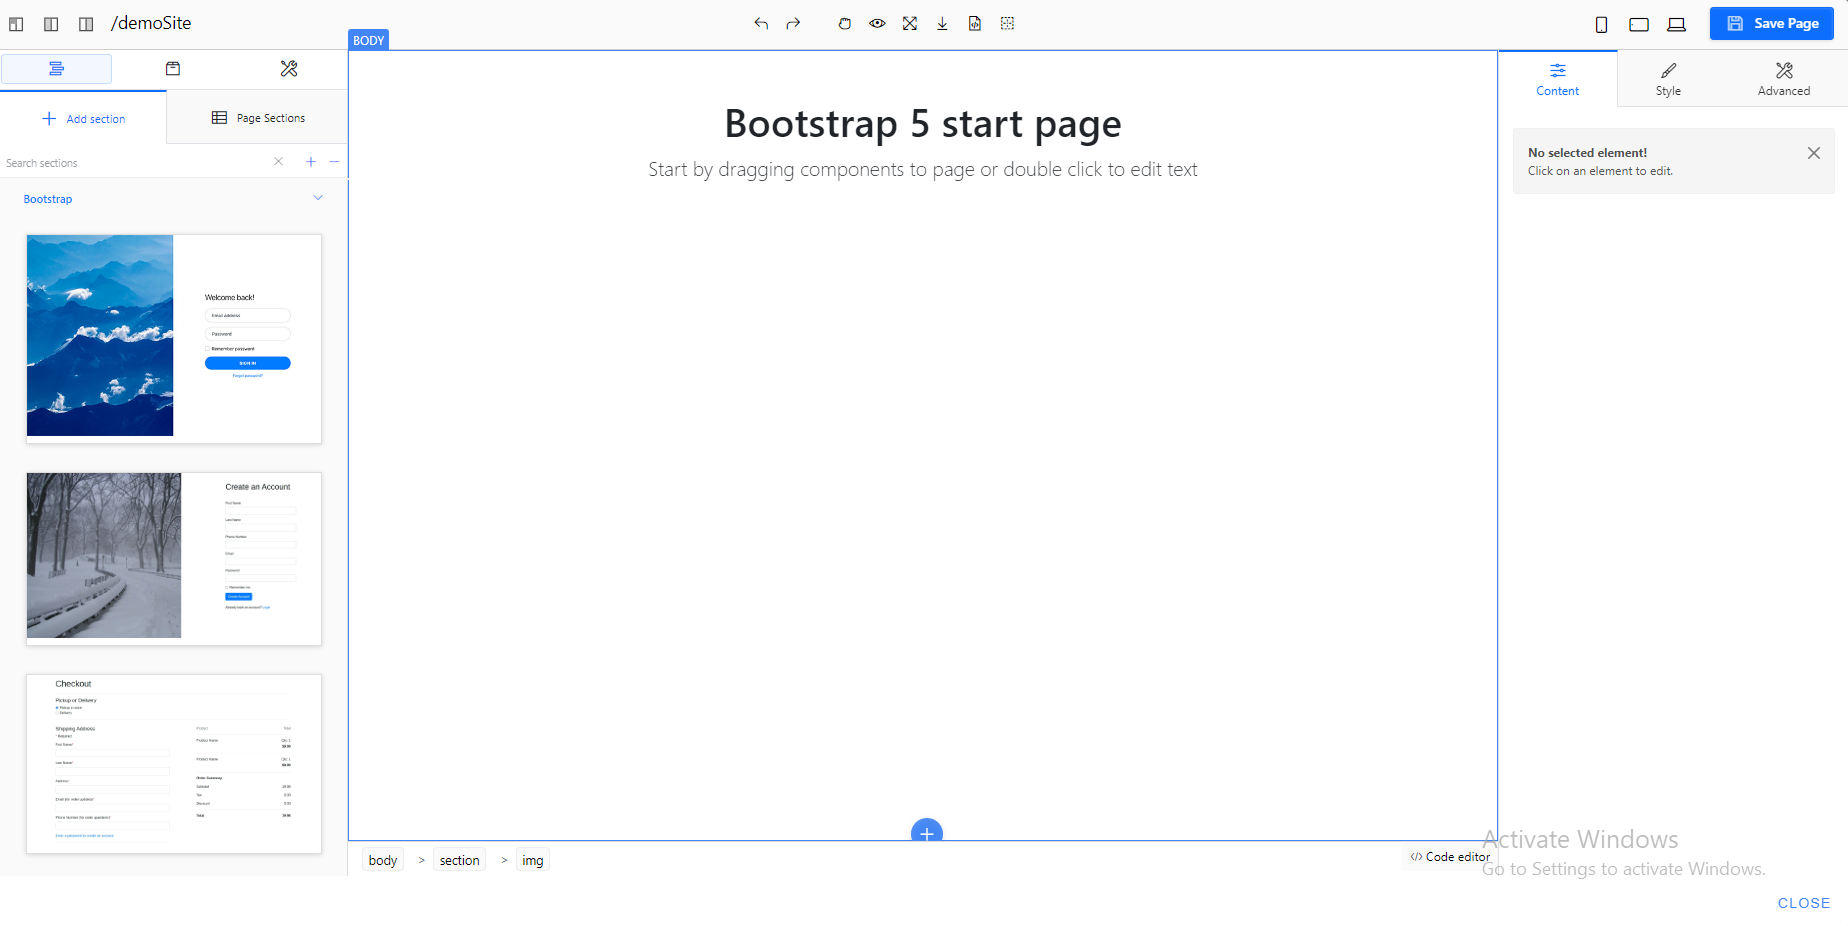
After providing the page setting and clicking the save button, you can view the below screen with the minimal code as you are shown in the below screenshot.
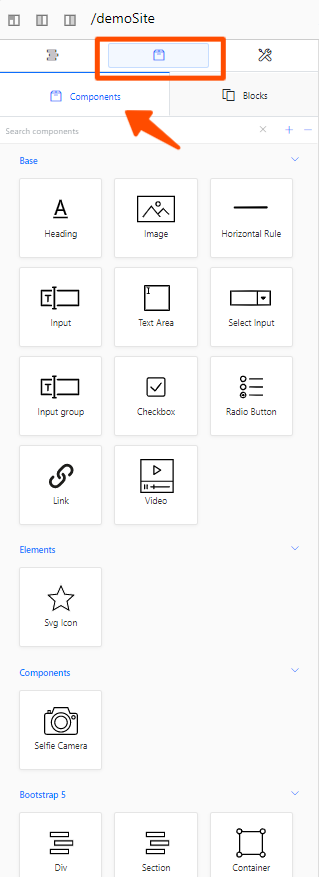
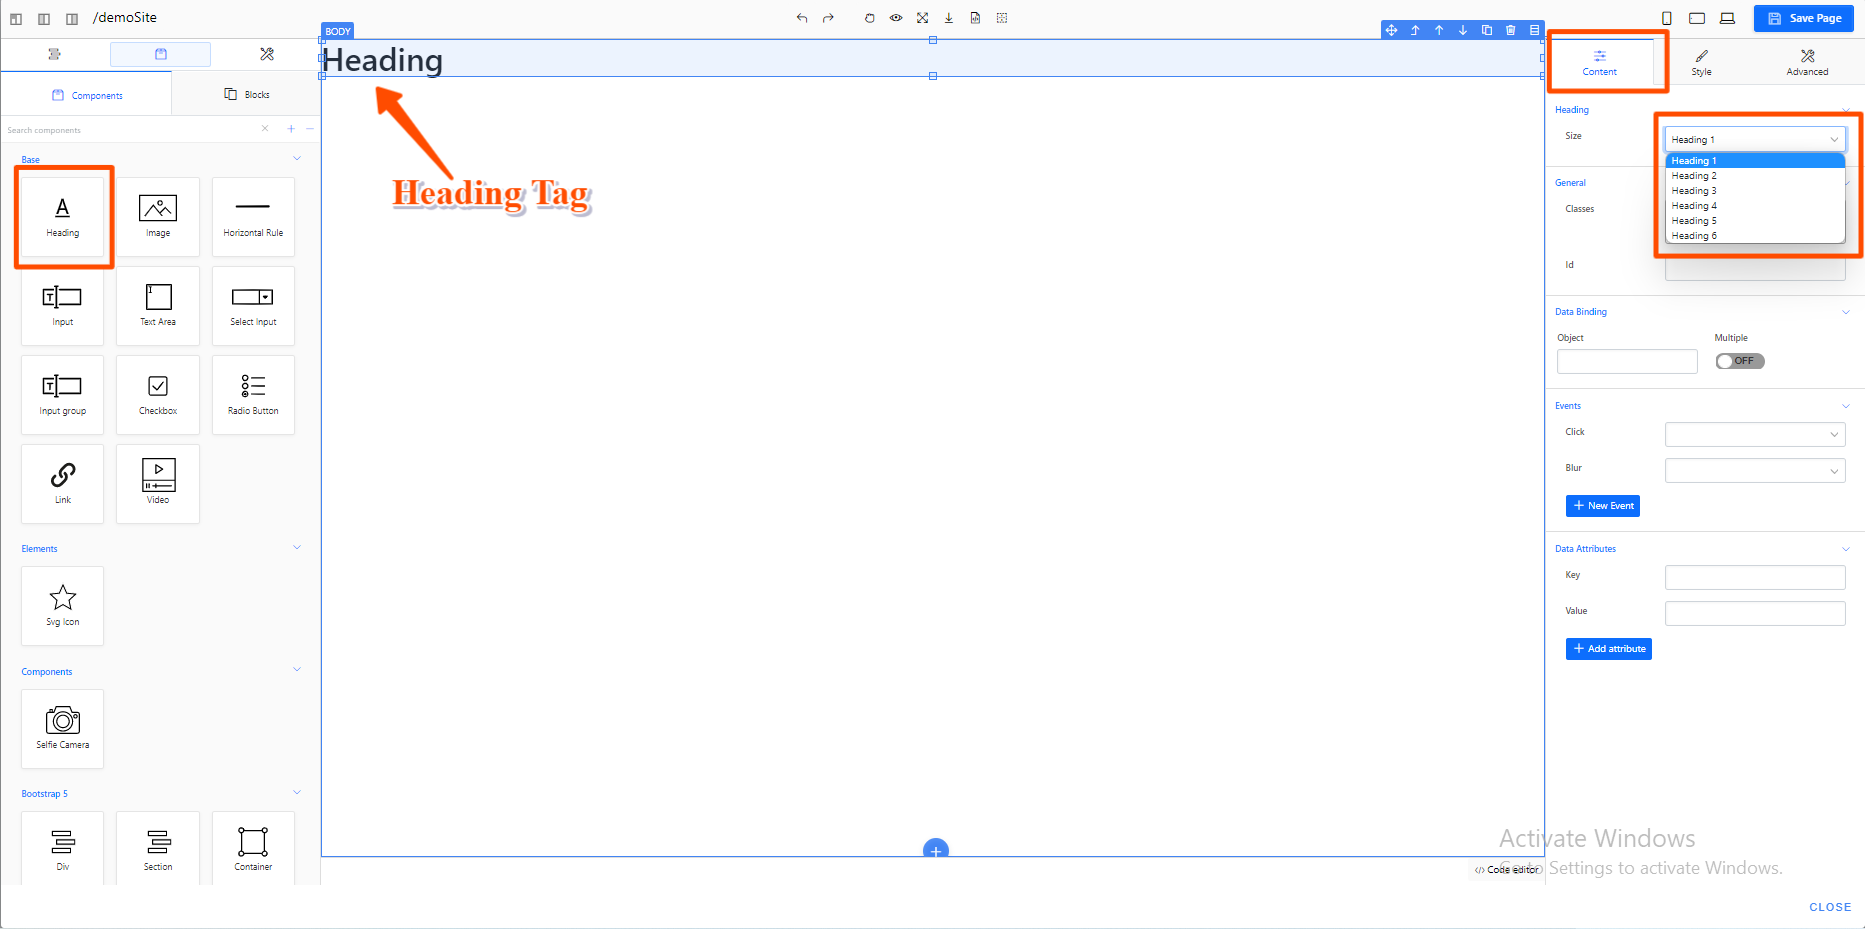
Step 3: To build the website, you can use the existing elements and components from the left panel and the components tab. After selecting the specific component and element, you simply drag and drop.
- For example, I've dropped the "Heading" element from the left panel onto the canvas. You can now style that element from the Right panel as needed. The right panel is divided into three sections: Content, Style, and Advanced.
-
ContentTab: It aids in the addition of content details and any new CSS classes, as well as the binding of events and the addition of new attributes to the element from the page builder.
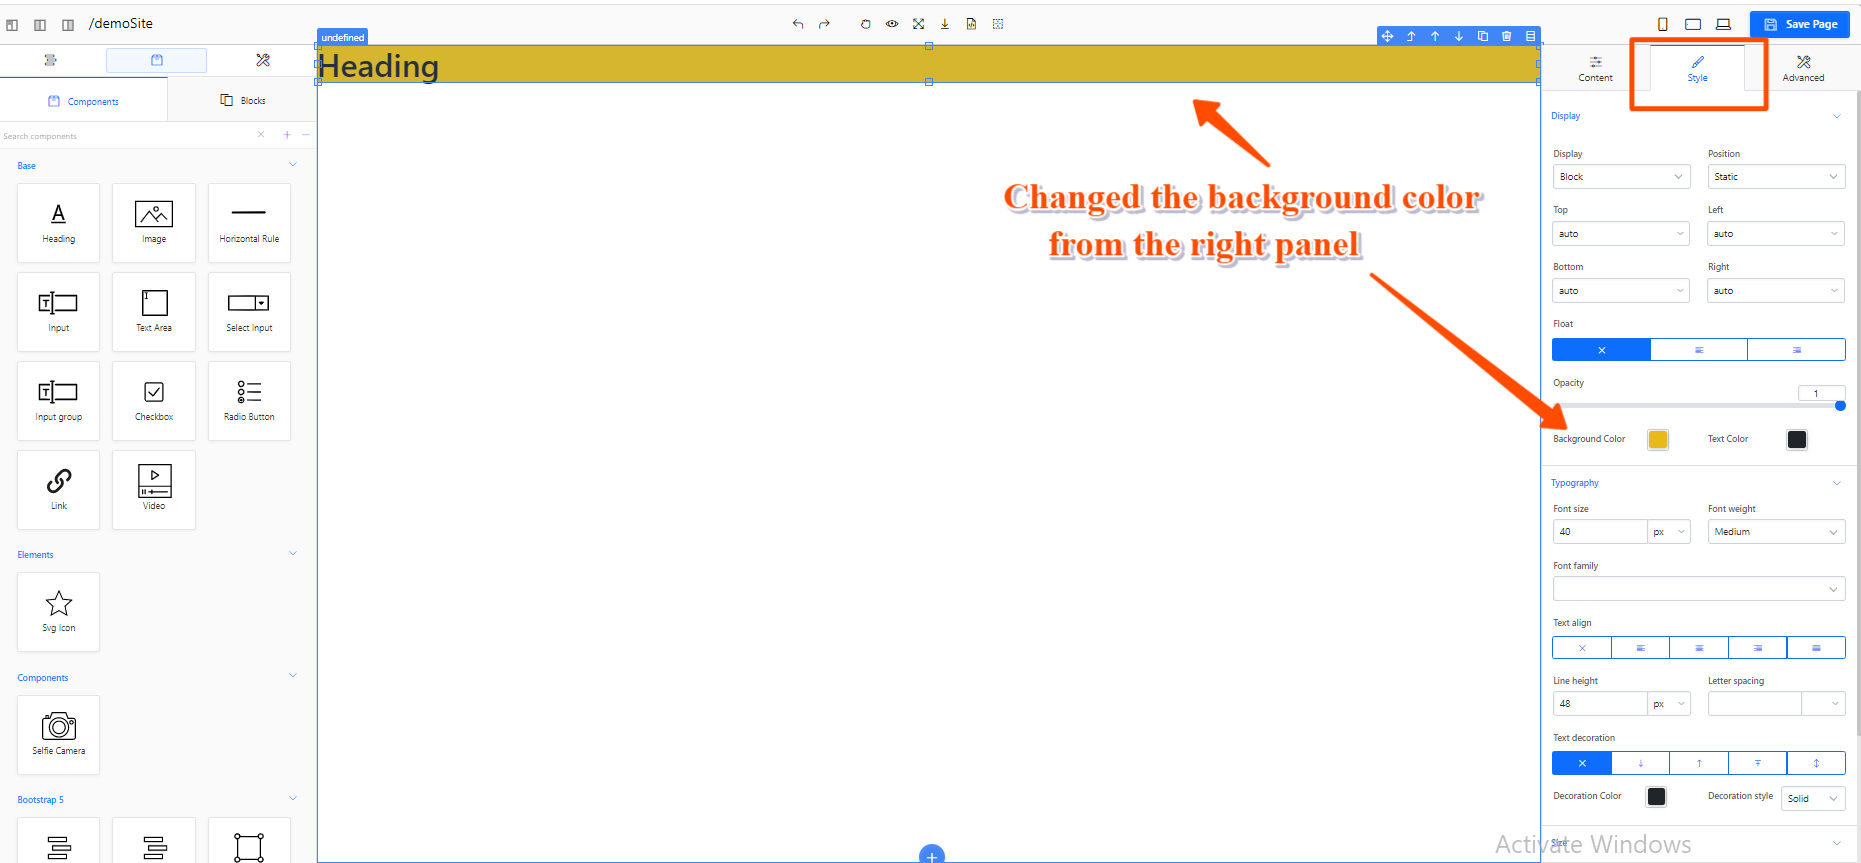
-
Style Tab: It aids in applying the element's styling. It has some subparts that are easier to understand and apply a style to. I changed the background color of the header tag in this case using the style tab on the right panel.
-
AdvancesTab: It helps in providing advanced styles like responsive rendering and animation.
- Currently, It has the functionality of adding responsiveness to your element or components and also animation support.
-
ContentTab: It aids in the addition of content details and any new CSS classes, as well as the binding of events and the addition of new attributes to the element from the page builder.
Step 4: After making changes to the layout of your website, you must click the "Save Page" button before leaving the page, or the changes will be lost.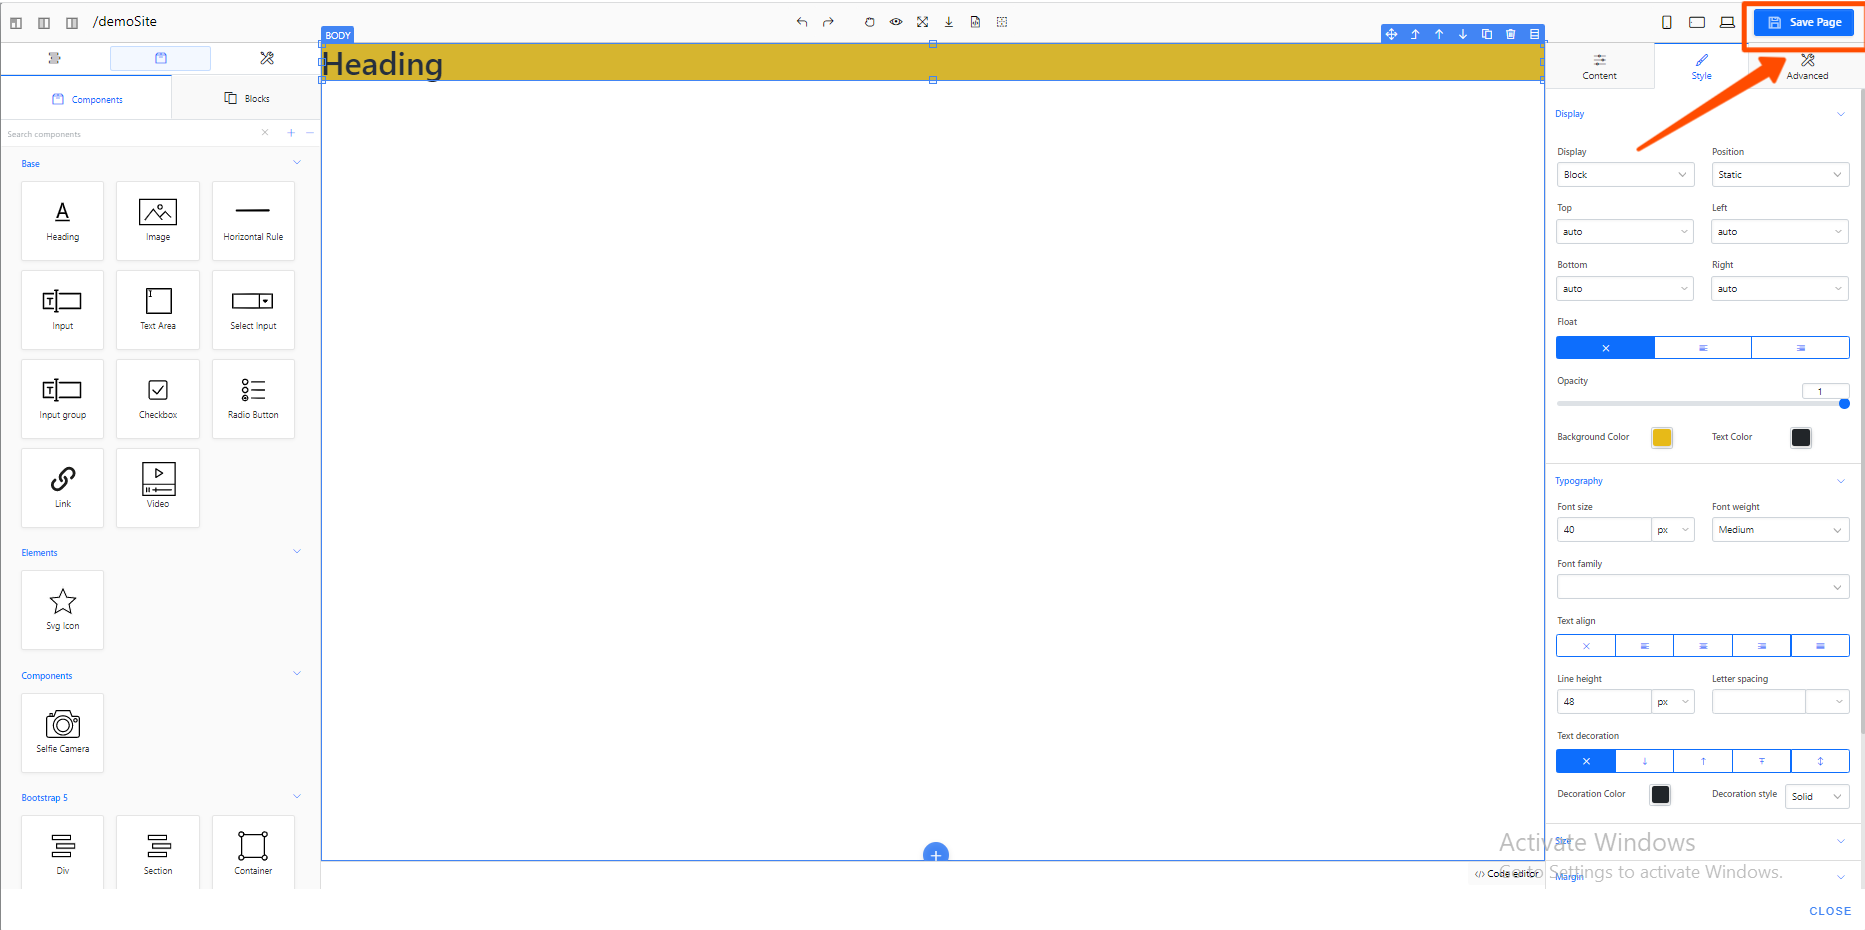
Step 5: After you've saved your changes, you can view your website by running the node. Displayed in the screenshot below.
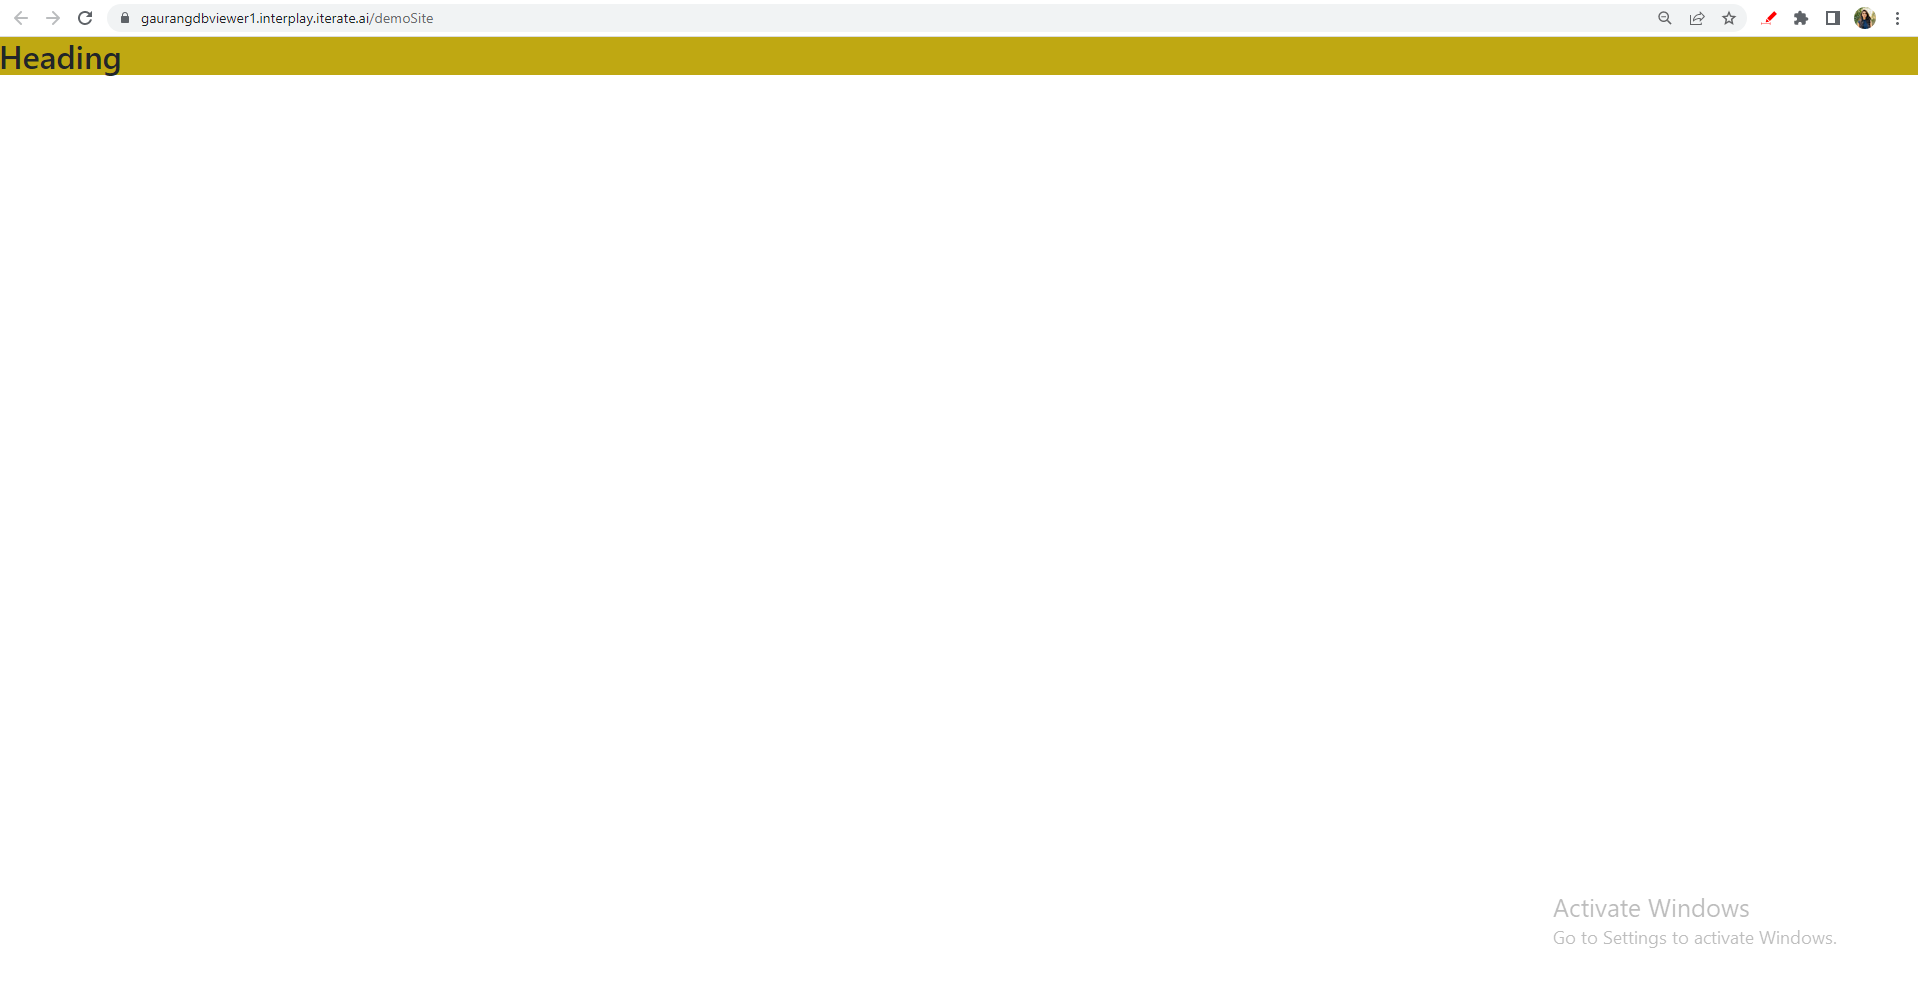
Video of the page builder example