
In this tutorial, we will learn how to create a simple flow that retrieve the list of product tags.
First Log into your interplay and create an instance. If you're unsure how to create an Instance go to the create an Instance tutorial on the getting started page.
Procedures
Step 1
Search for Http node in the search box and drag it to the workflow. This node will set the end-point for our request.

Step 2
Search for Http Response node in the search box and drag it to the workflow. This node will provide the response of our request.

Step 3
Search for Product tag node in the search box and drag it to the workflow. This node provides the functionality to retrieve product tags.

Step 4
Open the Http node and configure it. Use the POST method, as a body will be sent in this request. Keep the url simple and understandable and name the node accordingly. Save the node after making the changes.

Step 5
Open the Product Tag node and configure it. The details are:
- Node Name: The name of your node, which is unique and is used to distinguish itself from the other nodes in your flow.
- Shop Name: The name of the shop whose items are being used.
- accessToken: The Shopify Storefront Private Token of your shop.
Save the node after making the changes.

Step 6
Connect all these nodes and click on deploy. Once you deploy the nodes not only does it deploy what you created but it also saves your workflow.
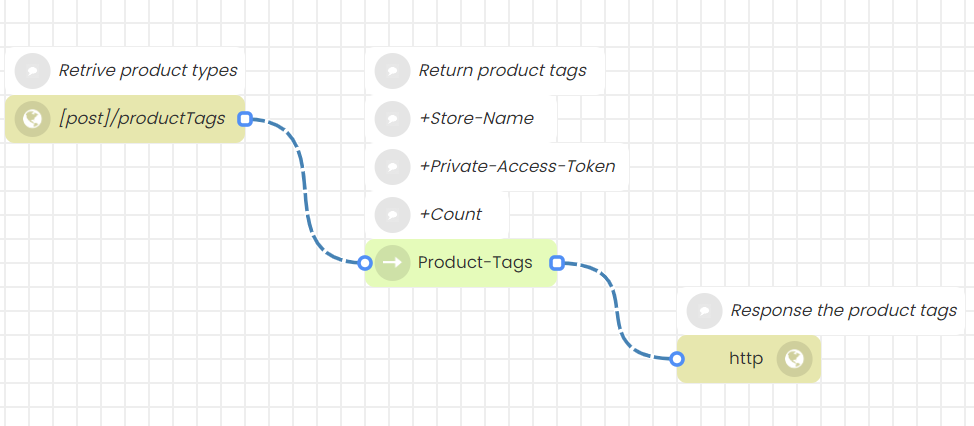
Your Product Tag flow is ready to use.