
Alexa is a wonderful voice assistant, and Amazon makes it very developer-friendly by simple Alexa training, and Interplay makes it a lot much easier to work with. In this article, we are going to make a simple Alexa endpoint with flows.
Prerequisites:
Requires an Alexa developer account with Alexa skill pack.
Steps:
1) Login into the Alexa developer account and navigate towards the Alexa skills.

Enter your skill name as desired and 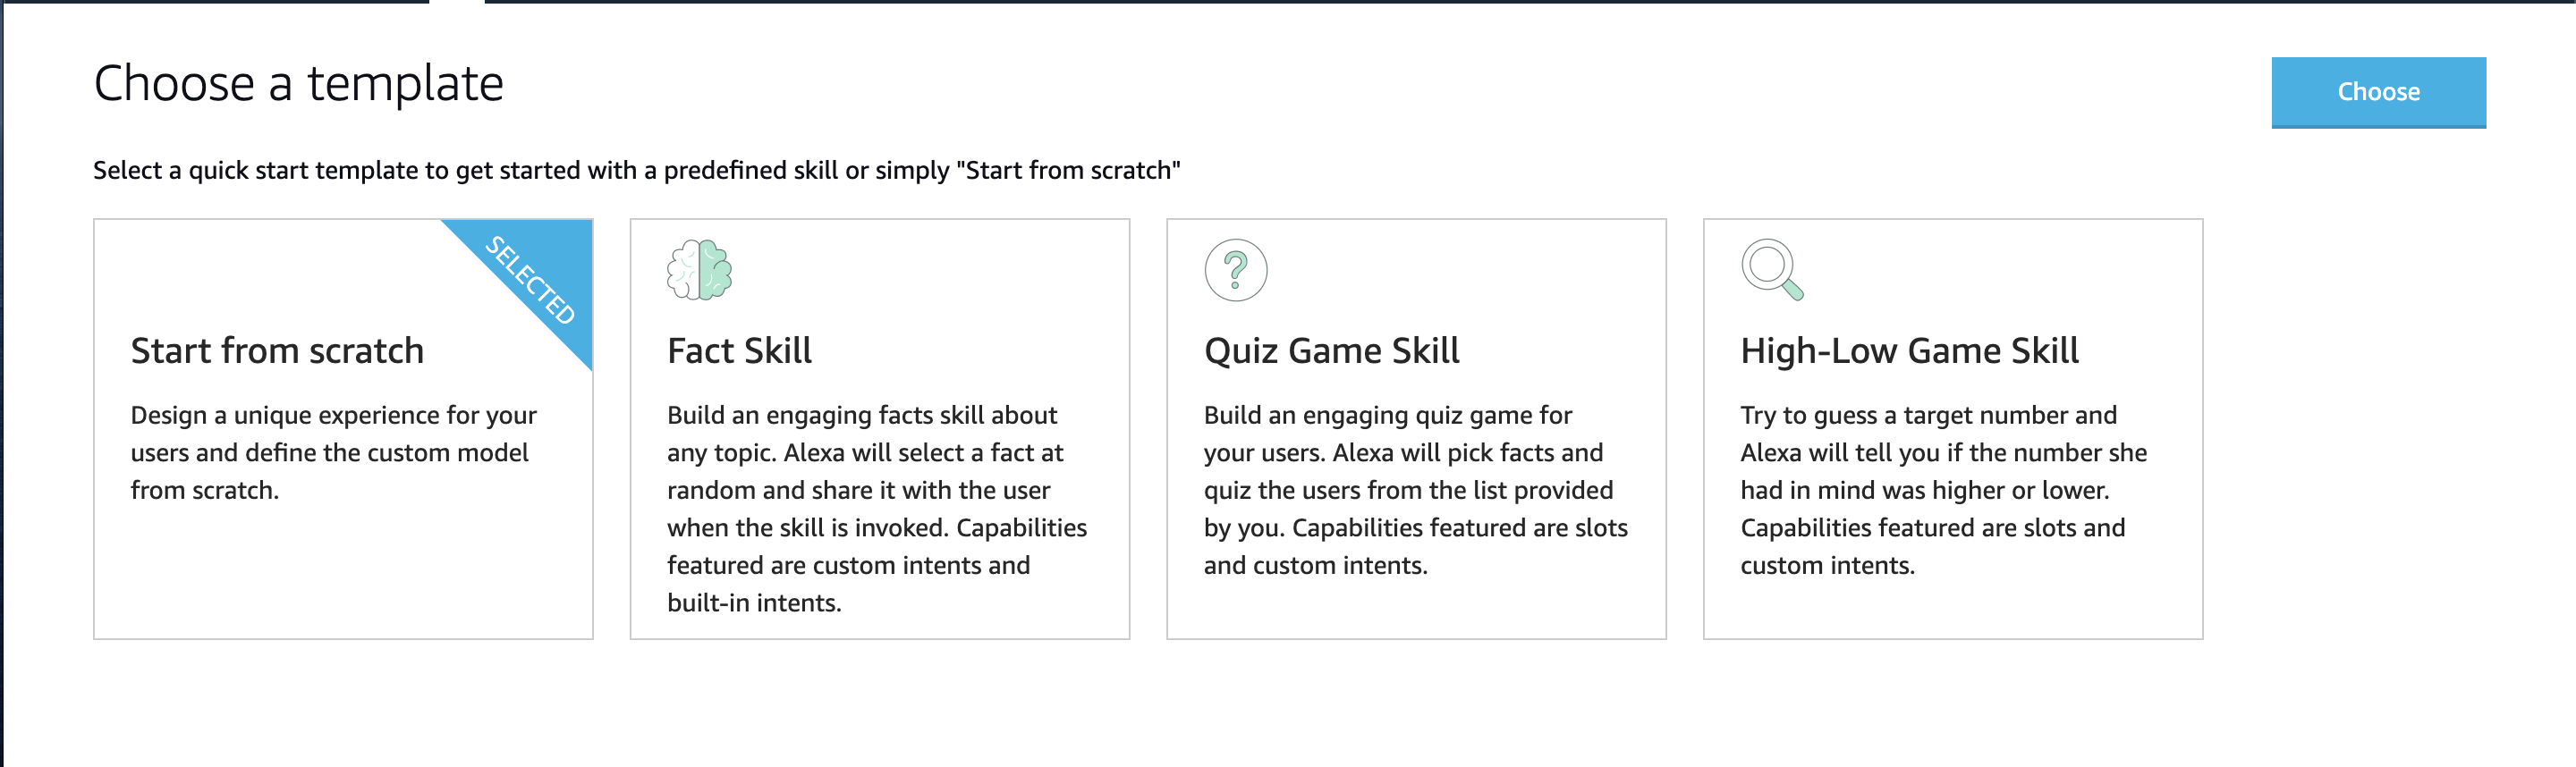 while choosing your Template, choose 'Start from scratch'
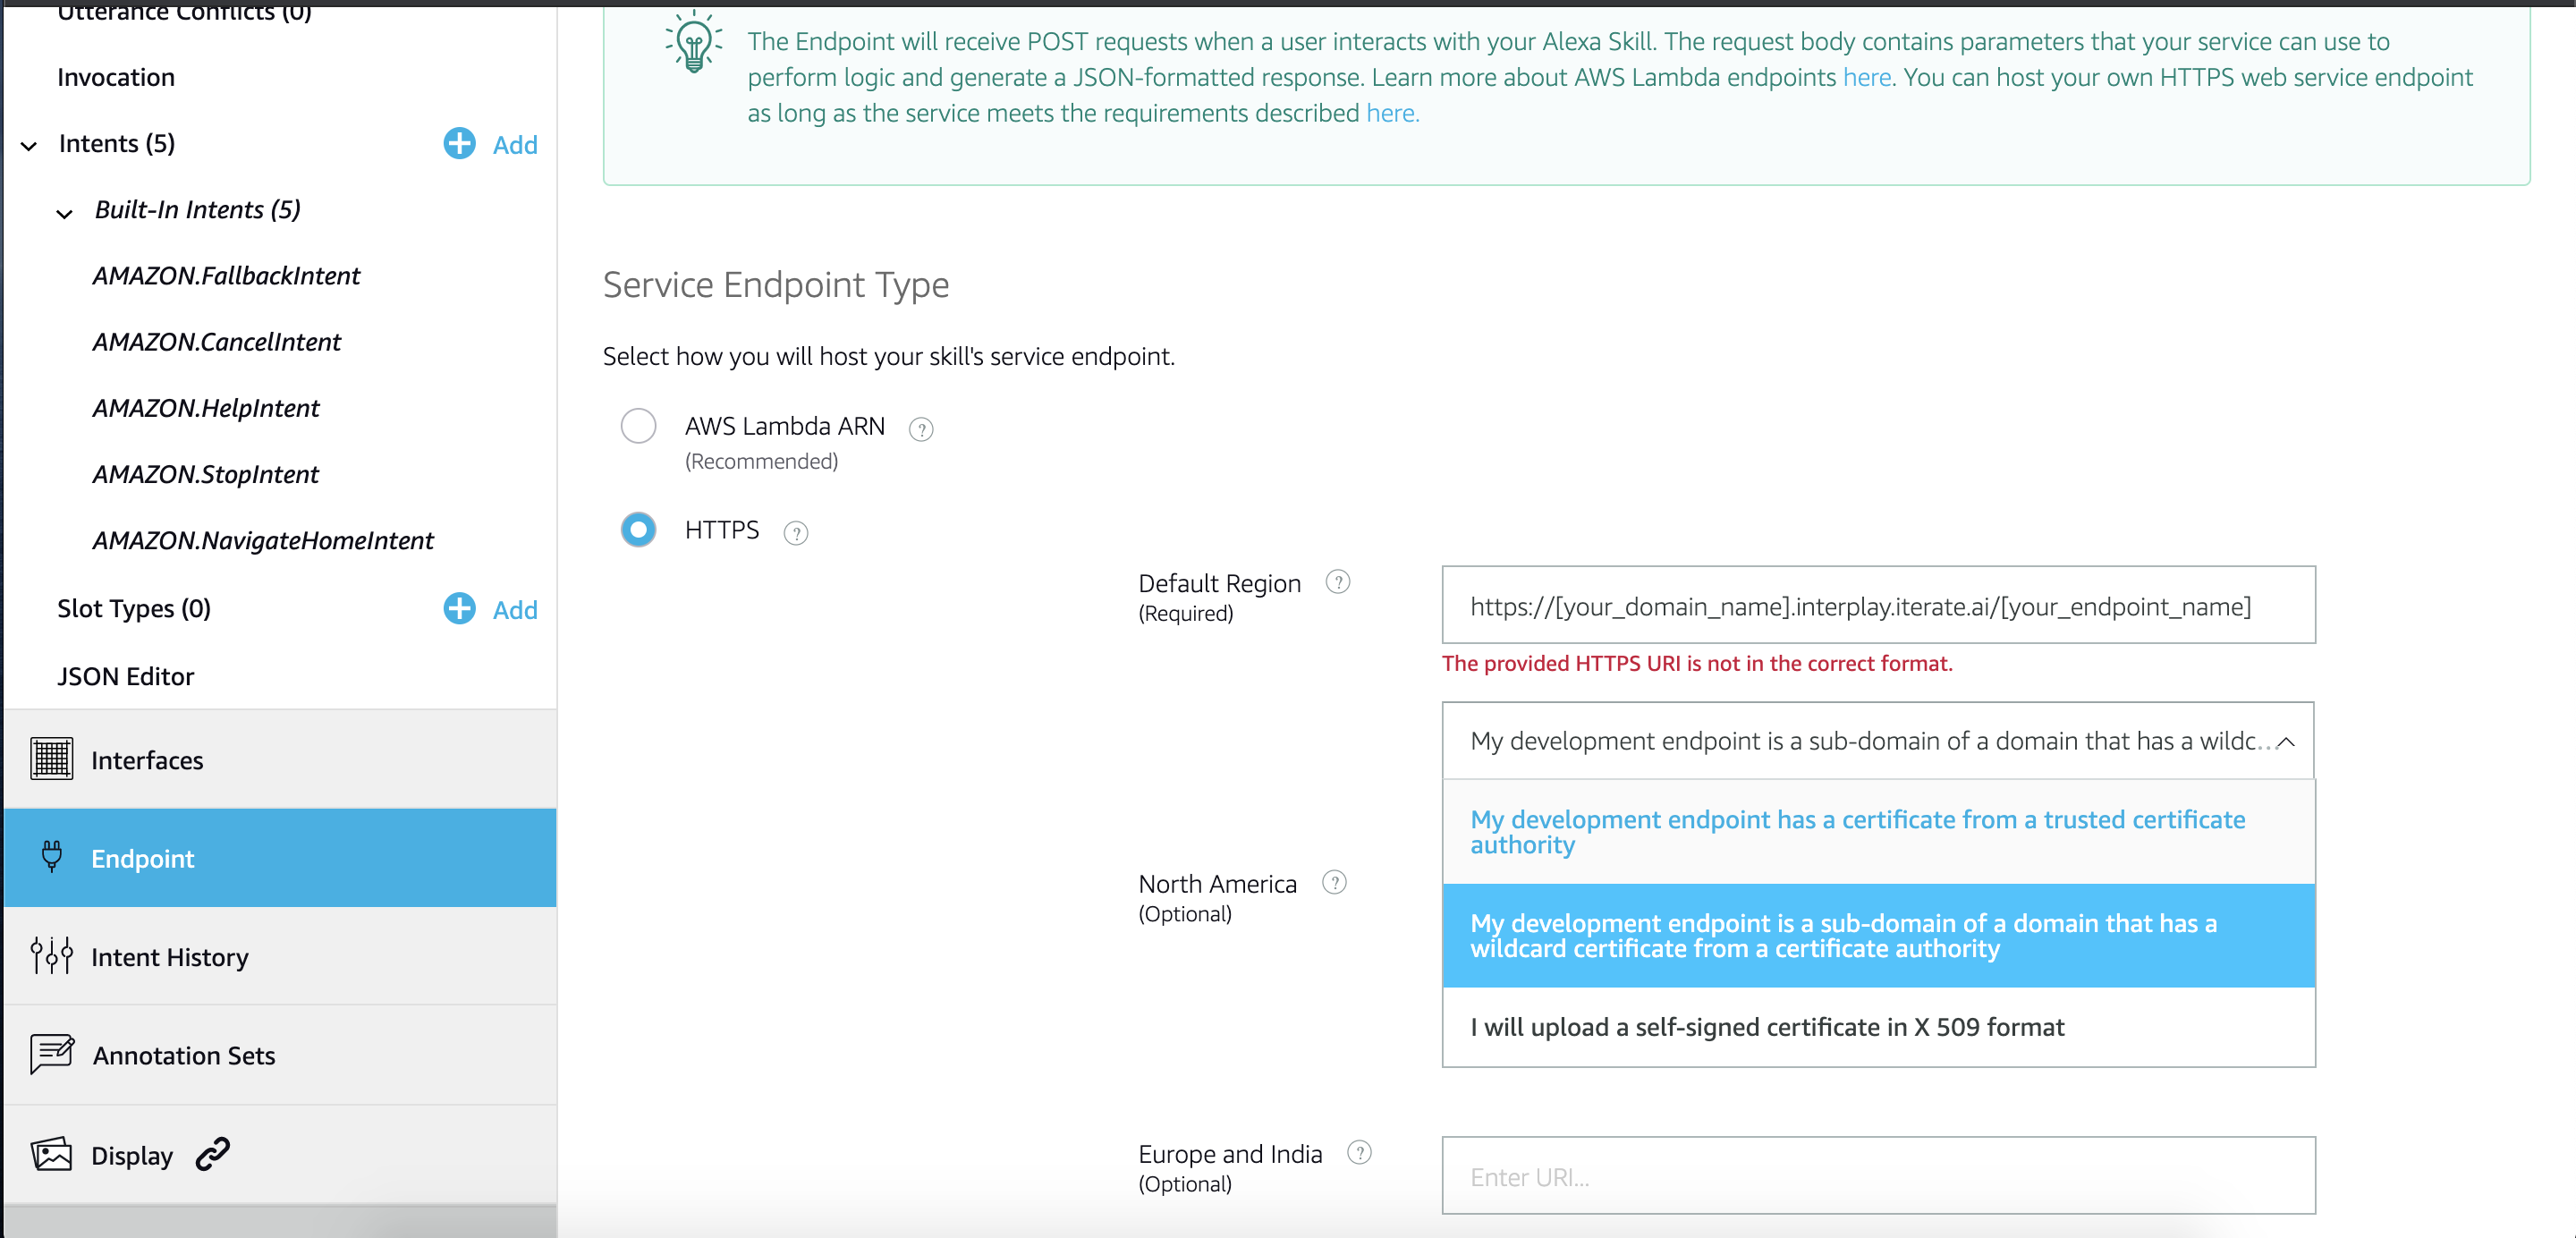
2) While creating an invocation, some key configurations to note are that you should configure the endpoint as shown in the following image. Select HTTP as the endpoint and in the field enter the URL as
https://<Your_Domain_name>.interplay.iterate.ai/<Your_endpoint_name>.
The domain name is the name of the interplay instance that we created through our dashboard. It is also the first section of the URL to access your interplay instance. The endpoint name we will define in the flow in the following steps. Be sure to select the second option for the certificate, as shown in the following image.
Now let's start by creating Alexa flow in our interplay.
3 ) While creating the flow, we need to have attention to these components
We start the flow with the node Alexa In:
Alexa Request Switch:  Makes the route based on input came from 'Alexa in'
Alexa Intent Switch :
Routes the message based on intent switch
Alexa Speech: Interplay specific node based on direct speech output to Alexa
With dropped these components in the workflow editor, Edit 'Alexa in' node properties as
4) Change the properties for the 'Alexa Switch Intent ' Node like this :
This node specifies the intent switch when the input switch command called upon, this switches the dialog flow by input string matches with intent string. This step is crucial for swift switch intent and flow
5) Pull the node 'Alexa signature verify'
 And connect nodes like this
6 ) By using 'Alexa Speech' you can customize the behavior and audio response simply by nodes, by this example you can get this idea, we created several different flavors of response for this example and also can create custom ones. Editing properties! Walk in the park!
Want to play a song? 
7 ) Now there is time for 'VA out' where the response is to be submitted. Search and drop to editor
8 ) connect the nodes like this: Yes!! Now Alexa can act on your flow!