Here Comes the important part! We always needed to write our data in file such as creating a log or text file to push current status and important credentials as text in files. It's really simple.
1) Writing Data in Text file.
Here we create a simple inject and it write a file with given filename.
Steps
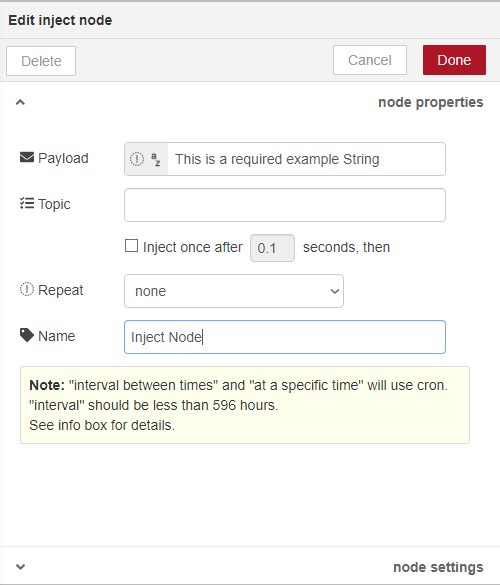
1) Drag-and-Drop 'inject' module on workflow editor, for this example, we create a simple string "This is a required example String ". However any kind of JavaScript data can be written in file, We just have to define the data in payload.
2 ) Search for 'File' node, select the icon 

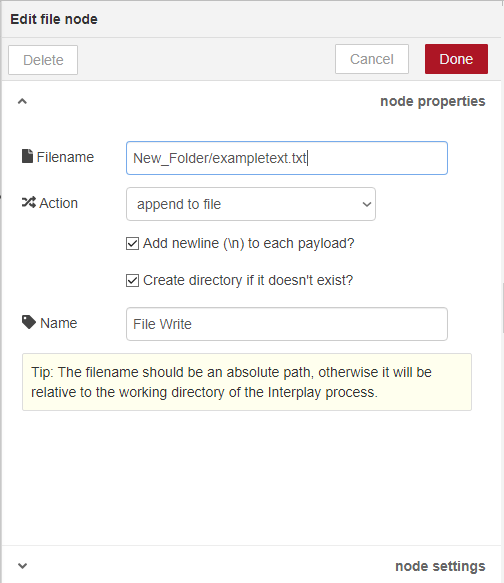
Here we can use little hack to make a directory and saving a file in text format, simply in put we have created New_folder in given directory and created exampletext.txt as we injected given payload text in file. but first we have to check the box of "Create New Directory if Doesn't exist"
We can define action as for our need as:
append to file : append the injected string/ Data in given file, keeping all the existing Data.
overwrite file : overwrite the injected Data.
Delete file : This action is especially used when File is needed to be deleted, for this injecting strings with data is optional.
2) Writing Data in Text file with modifying Data-on-fly.
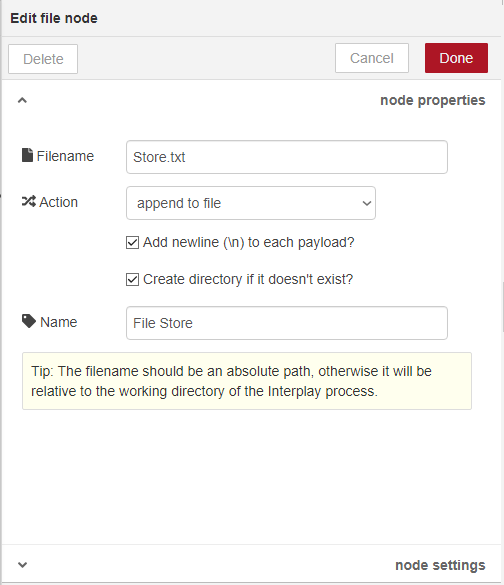
Sometimes we needed to save the data in file which is needed to be stored in certain format which input data needs to be modified using some function and node we can accomplished the task required.
Here, in this example We keep the given data in JSON format in text file.
Steps
1) drag inject node in your workflow and keep it's payload as timestamp (later you can modify the payload property to any type of data).
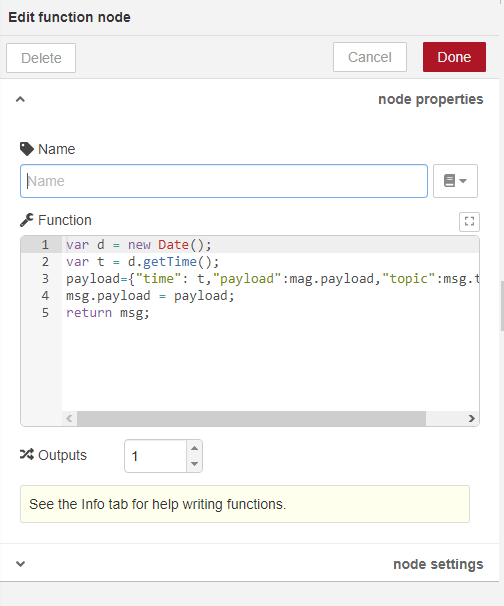
2 ) search and drop the Node.js Function in workflow editor and join the initial end with inject, double click to modify its properties. Write This snippet in functions tab.
var d = new Date();
var t = d.getTime(); payload={"time": t,"payload":mag.payload,"topic":msg.topic} msg.payload = payload;
return msg;
Like This:
Your Connected Node Should be like This:

3 ) Reading Data from your file.
as the writing was simple, reading is even simpler as ever.
Steps
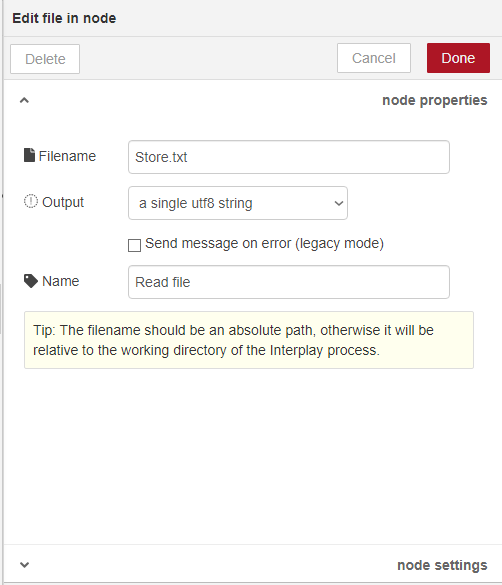
1) Drag the inject node and search for the node 'File' which looks like this:
search 'console' node and connect them all which should like this:
Filename : The file which we want to work on, this file must be existed in directory.
Output :
a single UTF-8 String : For extracting parsable string in JavaScript object.
a msg per line: multiline string is splitted in different object as need to be parsed which is seperated by "\n".
a single buffer object : This option is used to transmit as single buffer in Network communication.
a stream of buffers : For UDP communications.
3) double click to console node and set properties like this: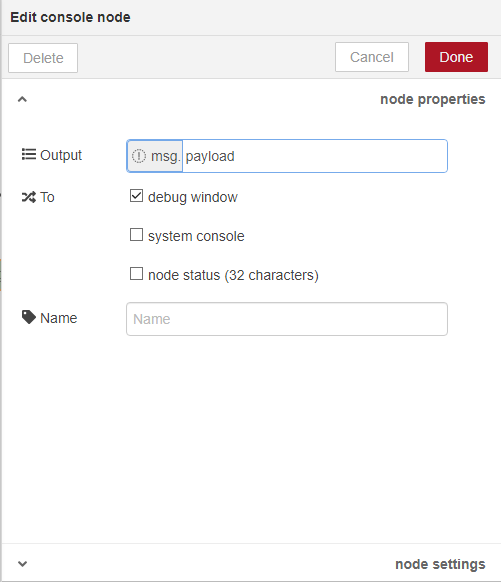
Yes! finally we can read the file and its content in flow.
